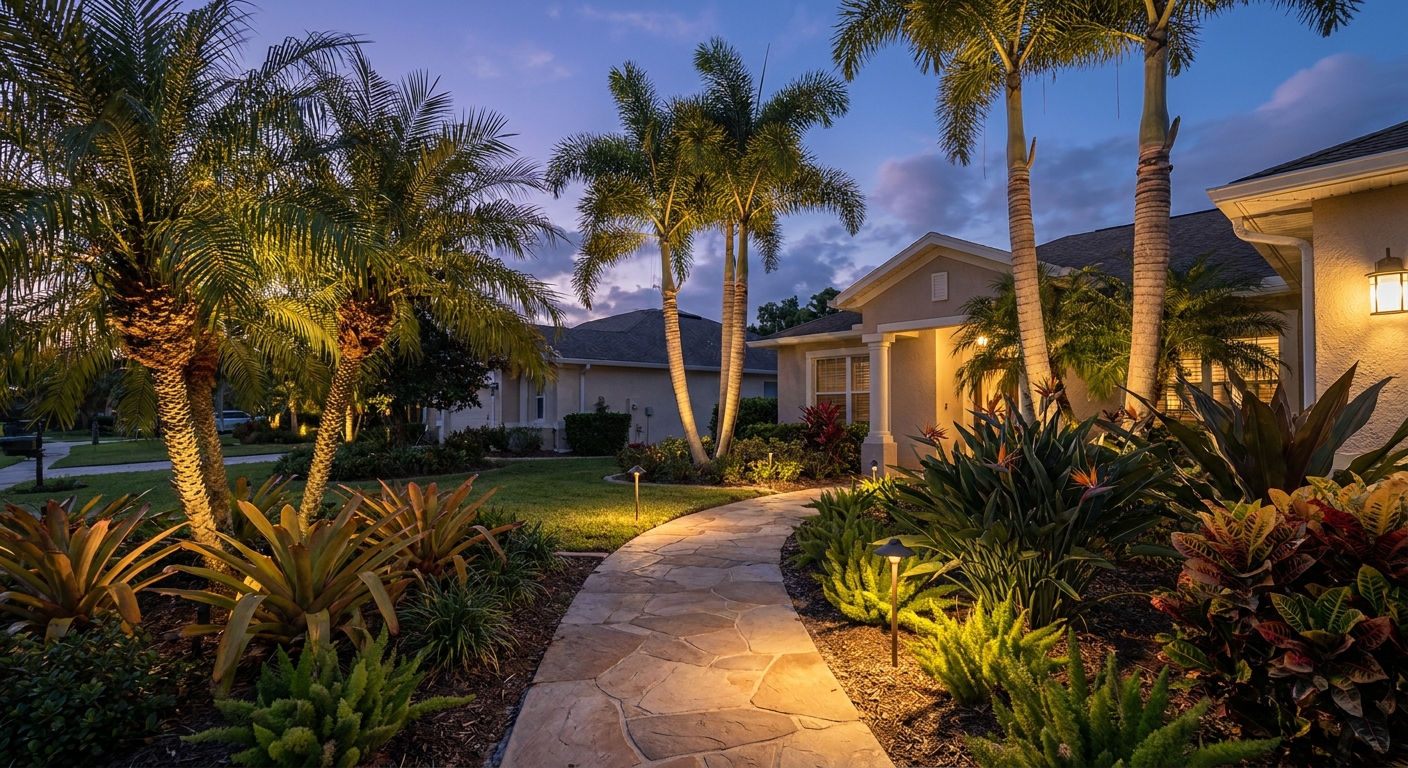
A useful landscape lighting plan starts by separating the places where people need to see from the features you want them to notice. Walkways, steps, gates, seating areas, trees, walls, pools, and docks can all need different light patterns. Treating them as one uniformly bright space usually creates glare without improving the view.
Start with the job each light needs to do
Walk the property after dark and mark the areas that serve a practical purpose. These may include the route from the driveway to the door, changes in elevation, steps, gates, and paths between the house and an outdoor living area.
Then identify the features worth highlighting. A tree canopy, textured wall, planting bed, or architectural detail may benefit from directional accent light. The goal is controlled contrast, not maximum brightness.
Keep these three roles separate while planning:
- Task lighting helps people follow a route, use a step, unlock a gate, or move around a seating area.
- Accent lighting draws attention to a tree, wall, planting, or architectural feature.
- Perimeter lighting improves visibility near entrances, side yards, and other selected areas. Motion controls can be useful when constant illumination is unnecessary.
A single fixture may contribute to more than one goal, but its beam should still be aimed deliberately. Light directed into people’s eyes, neighboring windows, or reflective glass can make an area harder to see.
Plan paths and steps without relying on a spacing formula
There is no single fixture spacing that fits every walkway. The right layout depends on the fixture’s light distribution, mounting height, path width, curves, nearby plants, surface color, and changes in elevation.
Place temporary markers where fixtures might go, then evaluate the route from both directions. Look for dark changes in level, bright hot spots, and fixtures that could be struck by a mower or hidden by future plant growth. A curved path may need a different arrangement from a straight driveway edge even when both cover the same distance.
Brick, pavers, concrete, and light-colored walls also reflect light differently. Fixture output and aiming matter more than a neighborhood-wide rule or a fixed distance between lights.
Use accent lighting with restraint
Uplighting can reveal the branch structure of a mature tree, while a low-angle grazing light can bring out texture on stucco or masonry. A wider wash may suit a planting bed or broad wall. These effects depend on the fixture’s beam, output, position, and the surface being illuminated.
Start with the feature and viewing angle. A light that looks balanced from a patio may create glare from a bedroom window or the sidewalk. Testing the position after dark helps identify those conflicts before the final layout is set.
If the yard connects to a pool or covered outdoor area, coordinate the landscape plan with the pool’s existing electrical features and lanai ceiling fans. Matching every fixture is unnecessary, but compatible color and brightness choices can keep adjacent areas from competing with one another.
Match equipment to its actual exposure
Outdoor equipment should be selected for the conditions where it will be installed. A protected location under a roof is different from a fixture exposed to direct rain, irrigation, standing water, or contact with landscaping tools.
For waterfront properties, including locations around Apollo Beach, review the manufacturer’s listing and instructions for the actual exposure. If salt or corrosive conditions are a concern, confirm that the manufacturer identifies the fixture, fasteners, connectors, and other components as suitable for that environment. A material name or decorative finish by itself does not establish compatibility.
Lighting installed on or near a dock presents different electrical and mounting questions from ordinary yard lighting. The existing guide to dock and boat lift electrical work explains why the waterfront portion should be evaluated separately. Before choosing fixtures, also confirm whether the property, community, or reviewing authority has requirements affecting waterfront lighting.
Low voltage and line voltage solve different installation problems
A low-voltage landscape system typically includes a transformer, cable, connections, and compatible fixtures. The transformer may be plugged into a suitable receptacle or connected another way allowed by its listing and installation design. It should not be assumed that every transformer simply plugs into an outdoor outlet.
Line-voltage lighting places circuit voltage at the lighting equipment and calls for wiring methods and components suited to that installation. Fixture output alone does not determine which approach is appropriate. Existing power, cable routes, controls, access, equipment instructions, and the intended lighting effect all affect the choice.
Low voltage does not automatically mean low energy use. Actual consumption depends on the connected lighting load and how long the system operates. Efficient fixtures and sensible controls can matter in either type of system.
Verify power and protective devices
Outdoor lighting combines electrical equipment with rain, irrigation, soil, and exposed surfaces. A qualified electrician can determine how the proposed system should be supplied and whether the existing circuit and protective devices are suitable.
Do not assume a particular receptacle lacks GFCI protection just because it has no test and reset buttons. Protection may be provided by another device earlier in the circuit. The electrician can test the circuit, identify the protective device, and evaluate the transformer or hardwired supply without opening hazardous equipment unnecessarily.
Choose controls around how the yard is used
A photocell can turn the system on in response to darkness. A timer can limit operating hours, while a compatible smart controller may add schedules or separate zones. Controls should match the transformer or lighting system rather than being selected as an unrelated add-on.
Zones are useful when different areas serve different purposes. A front path may follow a regular evening schedule, while accent lighting or a waterfront area may need separate control. Manual override can also help when the normal schedule does not fit a particular evening.
What changes the project scope
Useful budgeting begins with the actual work rather than a generic package price. Important scope questions include:
- Is this a new system or a repair to an existing one?
- Is suitable power already available at the intended transformer or control location?
- Will the transformer be plug-in or hardwired?
- How long and accessible are the cable routes?
- Do paths, walls, tree roots, hardscape, or waterfront structures limit access?
- Are the fixtures and connections suitable for rain, irrigation, soil, or coastal exposure?
- How many independently controlled zones are needed?
- Will existing pool, lanai, or architectural lighting remain part of the design?
A small path-lighting layout with accessible soil is a different electrical and installation problem from a project crossing hardscape or extending onto a dock. Comparing those conditions gives a homeowner more useful information than an unsupported Tampa price range.
If an existing system has stopped working, begin with why landscape lighting stops working. That guide separates common system components so the repair conversation can focus on the affected area instead of treating every dark fixture as a complete replacement.
Get help planning the electrical scope
Tampa Electrical Pro connects homeowners with independent licensed and insured electricians. Call (813) 850-0320 to discuss the property, the areas you want to illuminate, existing power, controls, and exposure conditions. The selected contractor determines the installation method, project scope, scheduling, and price.